Air conditioner maintenance separates a unit that quietly keeps you comfortable from one that breaks down during a heatwave, wastes energy, and inflates your bills. Noticing weaker cooling than last year, rising humidity in rooms, or a power bill that keeps creeping up? Simple upkeep can turn that around. In the guide below, you’ll find clear, beginner-friendly steps—grounded in data and real‑world best practices—so your AC runs efficiently, reliably, and safely.
Why Air Conditioner Maintenance Matters: Energy, Comfort, and Cost
Most systems don’t fail overnight; they fade quietly. Air still blows, yet cooling drops, run time stretches, and costs rise. Dusty filters, blocked outdoor coils, clogged drains, and small duct leaks steadily erode efficiency and comfort. Let that continue and the strain shows up as a breakdown right when you need cooling most.
Regular maintenance pays you back in comfort and cash. According to ENERGY STAR, a dirty filter can increase energy use by up to 15%—every minute with a clogged filter means you pay more for less cooling. Typical homes also lose 20–30% of conditioned air through leaky ducts, per ENERGY STAR’s duct sealing guidance. If certain rooms run hot or the system seems to run almost nonstop, leaks and restricted airflow are prime suspects.
Health benefits matter too. A clean filter captures dust, pollen, and fine particles that can aggravate allergies and asthma. The World Health Organization’s indoor air quality guidelines emphasize lowering indoor pollutants, and your AC’s filtration helps get you there. Keeping the condensate drain clear also prevents water leaks, mold growth, and that musty smell no one wants.
There’s a global angle as well. The International Energy Agency notes that space cooling uses around 10% of the world’s electricity and demand is rising (IEA). Efficient systems—and simple habits like cleaning filters—reduce energy demand and emissions. Whether you live in the tropics or in a region with hot summers, small maintenance steps deliver noticeable results: faster cooling, steadier temperatures, lower humidity, and better energy bills, especially in peak months.
Bottom line: skip maintenance and you shorten equipment life. With routine care, many units run 10–15 years or more. Neglect invites higher repair costs, early compressor failure, and frequent downtime. The good news is that most tasks are simple and safe to do yourself.
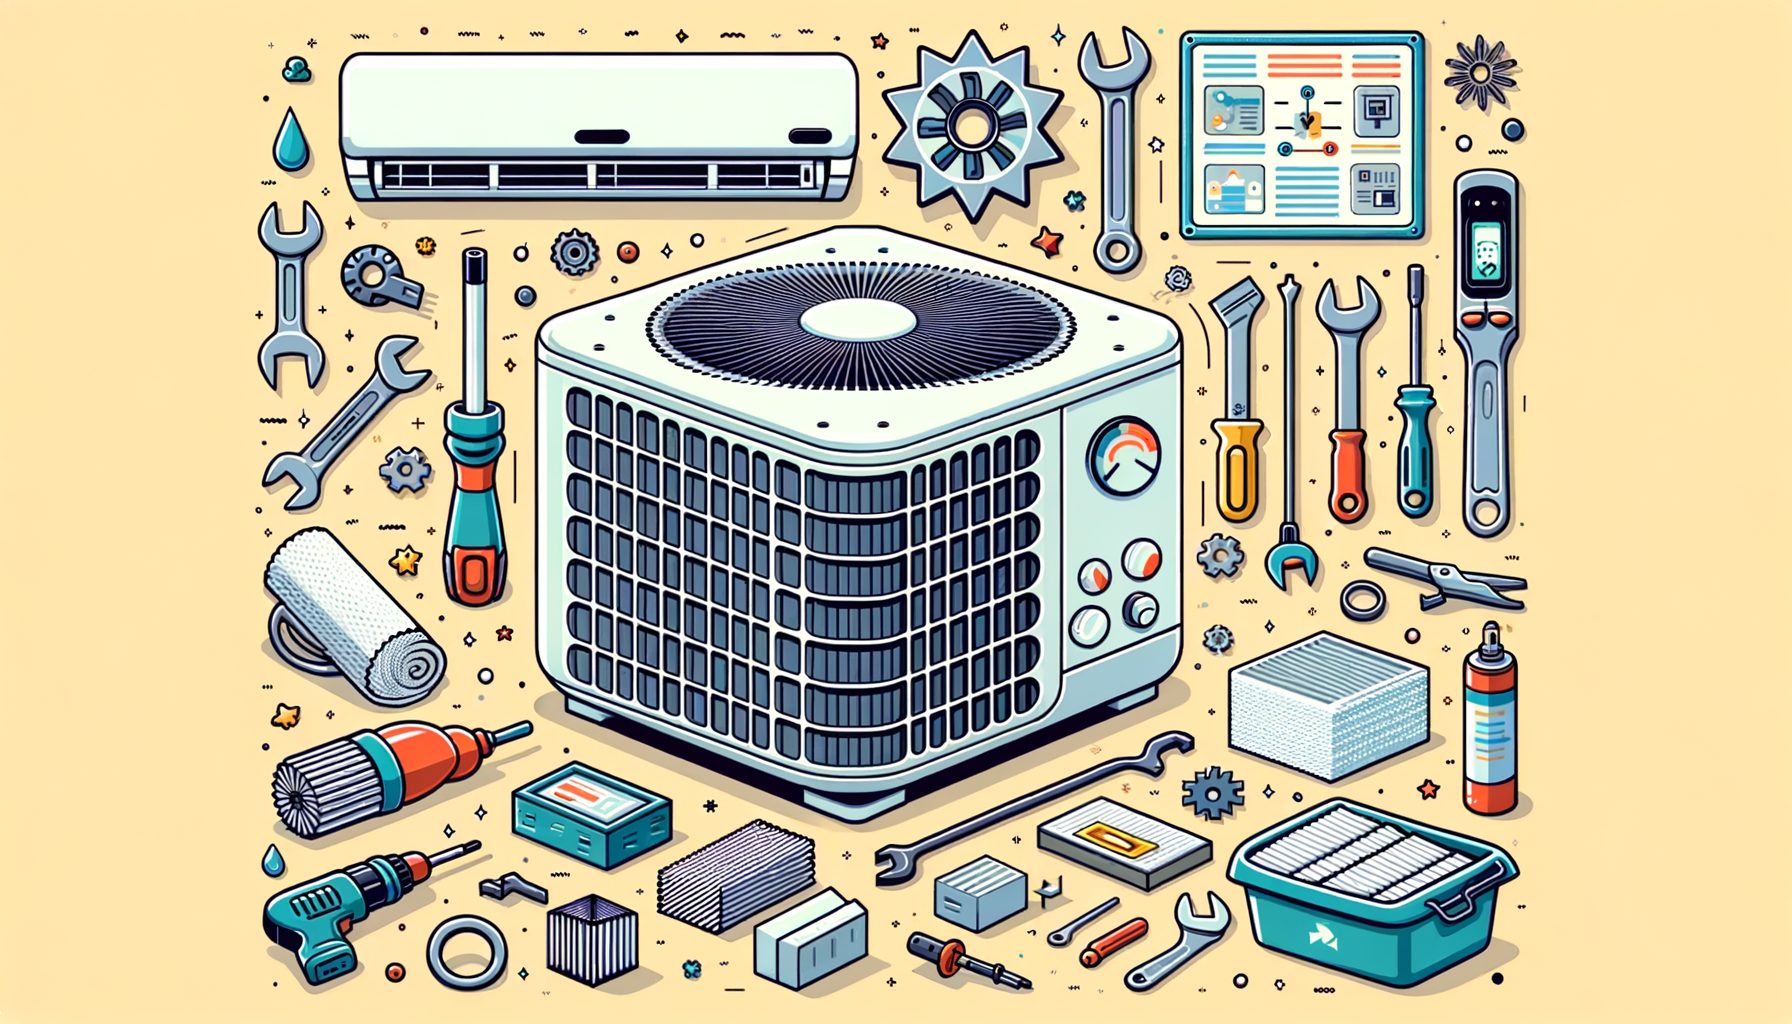
The Essential Monthly Checklist (DIY Steps You Can Do Safely)
Set a monthly reminder during cooling season. The routine takes just 15–30 minutes and prevents most common issues. Always switch off power to the indoor and outdoor units at the breaker before any hands‑on work.
1) Inspect and service your air filter. Slide out the filter near your return grille or indoor air handler. If it looks gray or dusty, replace it (disposable) or wash it (washable) per manufacturer instructions. For most homes, check monthly and replace every 1–3 months. Pet owners, those in dusty areas, or households that run the fan constantly should consider monthly replacement. Proper filtration keeps the evaporator coil clean and preserves airflow.
2) Clear supply vents and return grilles. Make sure furniture, rugs, or curtains aren’t blocking vents. Use a vacuum brush to remove dust. When vents are blocked, system pressure rises and cooling capacity falls.
3) Check the thermostat. Confirm it reads close to room temperature (verify with a basic thermometer). If you see a big mismatch (2–3°C or 4–5°F), relocate the thermostat away from direct sun or heat sources, or consider a smart thermostat for better scheduling and accuracy. Small errors here create large differences in run time.
4) Flush the condensate drain. Pour about 1 cup (250 ml) of white vinegar into the drain line access near the indoor unit to dissolve algae and biofilm. A clogged drain can cause water leaks, pan overflows, and poor humidity control. Spot standing water? Add a float switch so the system shuts off before a spill occurs.
5) Inspect the outdoor unit (condenser). Remove leaves, grass clippings, and debris around the unit. Maintain at least 60 cm (24 in) of clear space on all sides and 1–1.5 m (3–5 ft) above. Gently hose off the coil fins from the outside to knock away dirt. Never use a pressure washer; fins can bend and the coil may be damaged.
6) Listen for unusual sounds. Clicking, grinding, rattling, or whistling may signal loose panels, failing fan motors, or restricted airflow. Catching small noises early often prevents bigger failures later.
7) Quick visual checks. Ensure the thick insulated refrigerant line (suction line) has intact insulation. Replace cracked or missing foam to reduce energy loss. Watch for ice on lines or the indoor coil—icing points to airflow problems or low refrigerant (call a pro if this repeats).
Here’s a quick guide to choosing a filter:
| Filter Type / MERV | Best For | Replace / Clean | Airflow Notes |
|---|---|---|---|
| Pleated (MERV 8–11) | Most homes; balances capture and airflow | Every 1–3 months | Good airflow; widely recommended |
| High-efficiency (MERV 13) | Allergies, urban pollution | Every 1–2 months | May reduce airflow on older systems; check manufacturer specs |
| Washable electrostatic | Reusable option, light-to-moderate dust | Rinse monthly | Must fully dry before reinstalling; clean thoroughly to avoid restriction |
| HEPA add-on | High particle capture (special housings) | Per device | Not for standard filter slots; requires dedicated setup by pros |
Follow this monthly routine to keep airflow strong, humidity controlled, and energy use in check. In many homes, it also eliminates musty smells and prevents water leaks. If you only do one thing, make it the filter—fast, cheap, and highly effective.
Seasonal Deep-Clean Guide (Spring and Fall)
Beyond the monthly basics, plan a deeper service at the start and end of the cooling season. These steps improve efficiency and extend equipment life. Turn off power at the breaker before opening any panels.
For the outdoor condenser coil, remove the top grille only if the manufacturer allows it and you can do so without straining wiring. Use a soft brush to lift surface debris, then rinse with a garden hose from the inside out and then outside in. Keep water pressure low to protect fins. Bent fins can be straightened gently with a fin comb to restore airflow. A clean condenser rejects heat faster, so the compressor runs less and stays cooler.
On the indoor evaporator coil, look for an access panel. Apply a no‑rinse coil cleaner designed for evaporators and follow the product label. The coil is delicate—avoid scrubbing. Because this coil collects moisture and traps dust over time, cooling can drop and icing can occur. If the coil is heavily soiled, schedule a professional cleaning to prevent damage. While you’re there, carefully vacuum the blower compartment and inspect the blower wheel for dust buildup.
As for the condensate system, remove sludge from the drain pan, check the slope of the drain line, and confirm steady flow to the termination point. Consider installing a transparent cleanout tee so clogs are visible early. In humid climates, a clean drain often determines whether you enjoy dry comfort or face surprise water damage.
Re‑insulate the refrigerant suction line. The thick copper line should have intact foam insulation from the outdoor unit to the wall. Replace missing or cracked sections with closed‑cell refrigeration pipe insulation to prevent energy loss and sweating.
To verify performance, check the temperature split. After the system has run 10–15 minutes, measure air temperature at the return grille and at the supply vent nearest the air handler. A common rule of thumb is a 16–22°F (9–12°C) difference under normal indoor humidity. Very low split suggests low refrigerant, coil fouling, or high duct leakage; an unusually high split points to restricted airflow. Treat these as indicators—call a pro for precise diagnostics.
Seal accessible duct leaks using UL‑rated foil tape (not cloth “duct tape”) or mastic on visible gaps at joints, plenums, and around the air handler. Per ENERGY STAR, typical systems lose 20–30% of air to leaks, especially in attics and garages. Sealing improves comfort in far rooms and shortens run time.
Wrap up with a few final checks: replace thermostat batteries if needed, verify the outdoor unit sits level and stable, and trim vegetation. If your schedule varies, a smart thermostat can automate setpoints and save 5–10% annually, especially when you raise the setpoint while away.
Together, seasonal tasks and monthly upkeep reduce strain on the compressor and fans, keep coils clean, and help you avoid emergency service calls during peak heat. If anything looks beyond your comfort level—electrical issues, heavy coil fouling, or suspected refrigerant problems—bring in a qualified technician.
When to Call a Professional—and How to Choose One
DIY maintenance goes far, but some issues require certified help. Call a professional promptly if you notice any of the following:
– Persistent icing on the refrigerant lines or indoor coil
– Short cycling (unit turns on and off every few minutes)
– Warm air from vents while the outdoor unit runs
– Electrical burning smells, tripped breakers, or visible arcing
– Excessive indoor humidity despite long run times
– Sudden spikes in energy bills without a heat wave
What a quality tune‑up should include: measuring refrigerant superheat/subcooling, verifying temperature split, cleaning coils (as needed), testing capacitors and contactors, checking blower and condenser fan amp draw, tightening electrical connections, inspecting the condensate safety switch, confirming thermostat calibration, and documenting static pressure or airflow observations. Ask for a written checklist so you know exactly what you’re paying for.
How to choose a pro: seek technicians certified in your region (e.g., NATE in North America) and with refrigerant handling credentials (e.g., U.S. EPA Section 608 or your country’s equivalent F‑Gas certification in the EU). Read recent local reviews, ask neighbors for referrals, and request a transparent quote. Reliable companies explain findings in plain language, offer options, and avoid high‑pressure replacement pitches.
Costs vary by region and system size, but as a reference: seasonal tune‑ups often run US$75–200; deep coil cleaning US$100–400; a failed capacitor US$100–250; blower motors US$300–800; and duct sealing can range widely depending on access. Refrigerant‑related repairs depend on leak location and refrigerant type (R410A, R32, etc.), which also affects cost due to phasedown policies in some countries. If your unit is 10–15 years old and needs major repairs, ask for a repair‑versus‑replace comparison.
Service plans versus pay‑as‑you‑go: a modest annual plan with two checkups and priority scheduling can be worth it in hot climates or for older systems. In cooler regions, you may save more by doing DIY maintenance and calling for service only when needed. Check your manufacturer warranty as well—some brands encourage documented annual service to keep coverage active.
One more thing: design matters. An oversized AC will short‑cycle and leave rooms humid no matter how clean it is. Undersized or poorly designed ducts choke airflow. A professional can measure static pressure and airflow to confirm the system matches your home.
Q&A: Quick Answers to Common AC Maintenance Questions
How often should I get professional service? Once a year is a solid baseline—ideally in spring before heavy use. In very dusty or coastal environments, twice a year can pay off.
What thermostat setting saves energy but stays comfortable? Many households settle around 24–26°C (75–78°F) when at home. When away, raise the setpoint by 3–5°C (7–10°F). Scheduling these changes can meaningfully reduce seasonal energy use.
Can I use a MERV 13 filter in any system? Only if your system can handle the added resistance. Check blower specifications and consult your technician. If static pressure is too high, consider a media cabinet with a larger surface area or a professional‑grade filtration upgrade.
Is chemical coil cleaning safe? Use only cleaners labeled for HVAC coils and follow directions. Avoid harsh acids on evaporators. If coils are very dirty or hard to access, hire a professional to prevent fin damage and ensure proper rinsing.
How long should an AC run per cycle? It varies by home and weather, but typical cycles last 10–20 minutes. Very short cycles (under ~7 minutes) or constant running may indicate sizing, airflow, or refrigerant issues.
Conclusion: Start Small Today—Your AC (and Wallet) Will Thank You
Big picture: air conditioner maintenance protects comfort, cuts energy bills, and prevents surprise breakdowns. You’ve seen why airflow and cleanliness matter, how a monthly checklist (filters, vents, drain, outdoor unit) preserves efficiency, how seasonal deep‑clean steps (coils, insulation, ducts) boost performance, and when to bring in a qualified pro for diagnostics and tune‑ups. These tasks aren’t complicated—but they deliver real results.
Take action now. Pick one 15‑minute task from this guide and do it today: check your filter, clear the outdoor unit, or flush the condensate drain. Then set a repeating reminder on your phone for monthly checks and a calendar event for spring/fall deep cleans. If you’ve noticed warning signs like icing, short cycling, or rising bills, schedule a professional visit and ask for a written tune‑up checklist. Small steps now prevent sweaty nights and expensive emergencies later.
Want extra savings? Combine maintenance with smarter operation: keep doors and windows closed when the AC runs, shade sun‑exposed windows, and use a moderate setpoint. If you’re ready for a technology upgrade, a smart thermostat and a better filtration cabinet can improve comfort and indoor air quality with minimal effort.
You have everything needed to keep your air conditioner in top shape—no advanced tools, no guesswork. Save this guide, share it with a friend, and commit to the simple routines that protect your cooling system for years. Your future self (and your power bill) will be glad you did. Which maintenance task will you tackle first today?