If your home’s air feels warm, musty, or expensive to cool, the problem may not be your AC unit—it may be your toolkit. The right DIY AC maintenance tools let you fix common issues fast, boost efficiency, and prevent costly breakdowns. In this guide, you’ll learn exactly what to stock in a home HVAC toolkit, how to use each item safely, and which jobs belong with licensed pros. Whether you’re new to home maintenance or already handy, you’ll find simple steps and smart gear that can cut energy bills and extend the life of your air conditioner.
Why a DIY AC Toolkit Matters: Lower Bills, Fewer Breakdowns
Most AC performance problems start small: a clogged filter, a dirty condenser coil, a blocked condensate drain, or crushed fins on the outdoor unit. Airflow gets restricted and heat transfer is reduced, so the system must run longer and harder. The outcome is higher energy bills, hot and cold spots in your home, and more wear on expensive parts like the compressor or blower motor. With the right home HVAC toolkit, you can handle routine tasks on your schedule—before minor symptoms turn into a no-cool emergency.
Regular DIY maintenance has measurable payoffs. ENERGY STAR notes that replacing a dirty filter can reduce energy consumption by 5–15%. Cleaning outdoor coils improves heat rejection, lowering run time and temperature differential stress on the compressor. Clearing a condensate drain prevents water damage and stops safety switches from shutting down your system on humid days. Even simple steps like trimming shrubs around the condenser and straightening bent fins can restore airflow and improve capacity when you need it most.
There’s also the comfort factor. A well-maintained system reaches setpoint faster and cycles normally, avoiding short-cycling that can make rooms feel sticky. You’ll also hear fewer rattles and hot-day struggles because the equipment isn’t fighting basic blockages. If you’ve ever waited days for a peak-season service call, you know the peace of mind that comes from solving preventable issues yourself. With a compact set of DIY AC maintenance tools—gloves, fin comb, coil brush, wet/dry vacuum, non-contact voltage tester, thermometer, and HVAC tape—you’ll be equipped to handle 80% of routine care safely and will confidently know when to call a professional for the rest.
The Essential DIY AC Maintenance Tools and What They Do
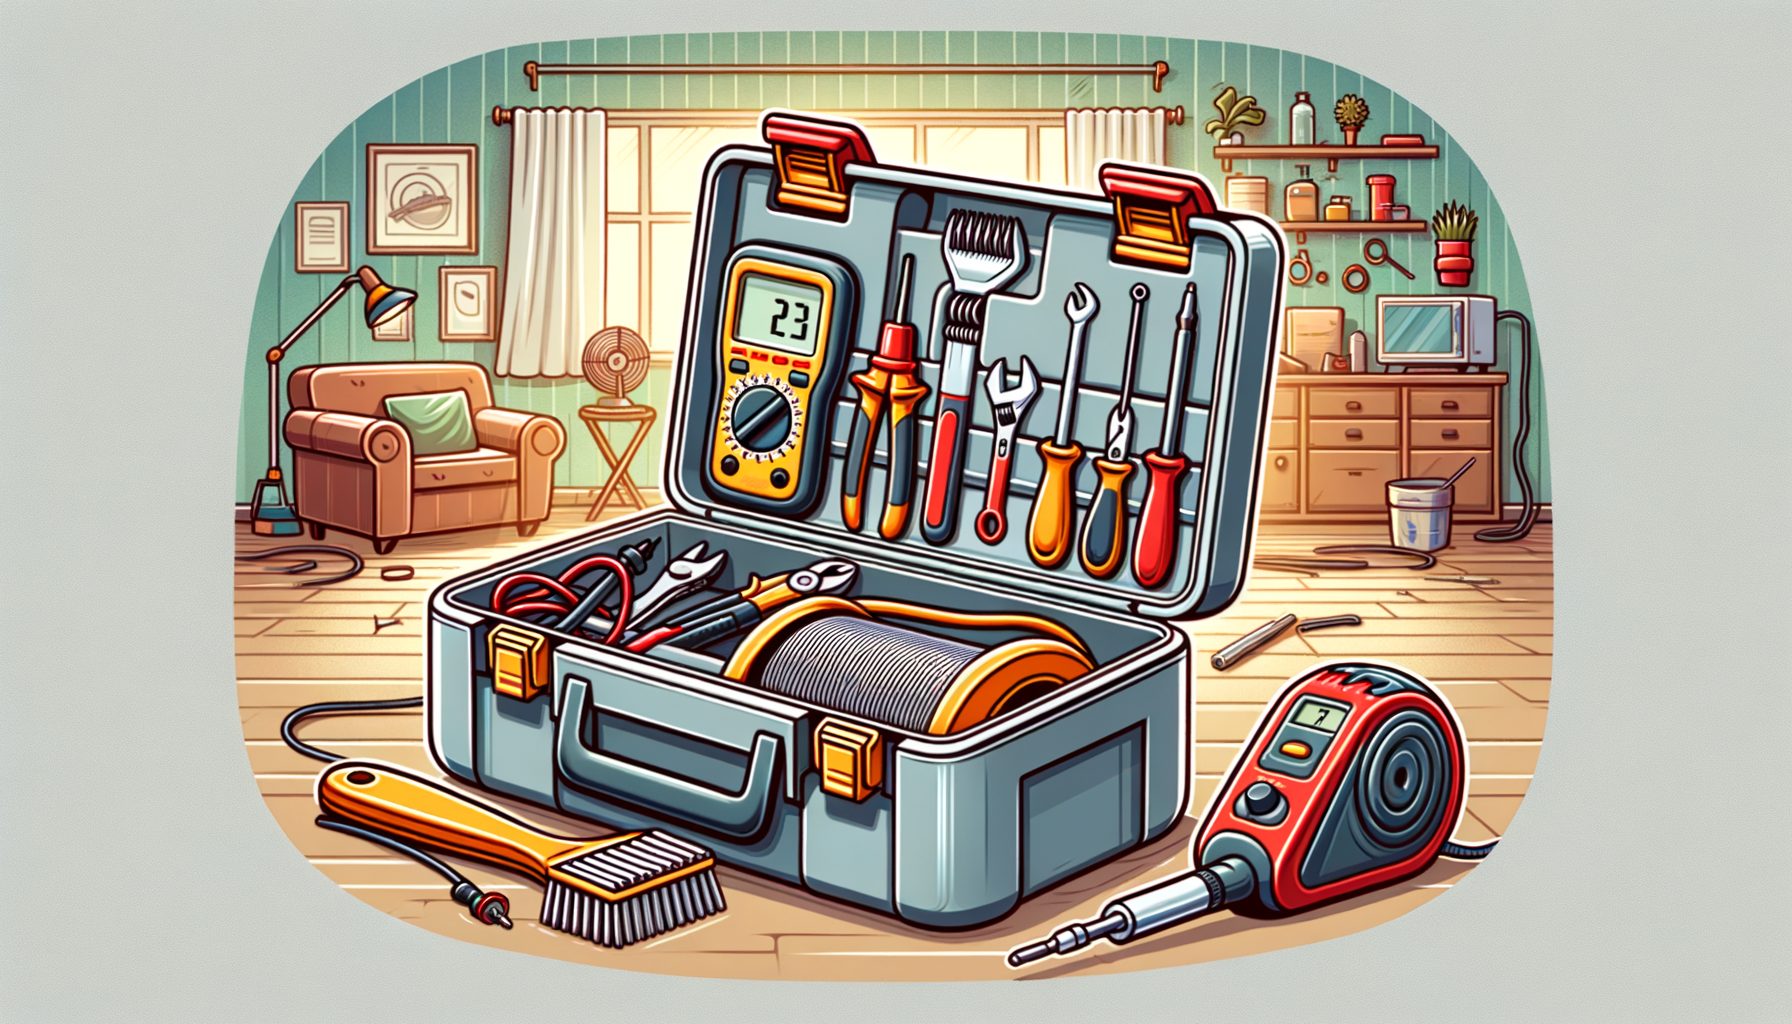
A solid home HVAC toolkit focuses on airflow, cleanliness, measurement, and safety. You don’t need contractor-grade gear; you need reliable, homeowner-friendly tools that help you diagnose and fix common issues without touching refrigerant circuits or live electrical components. Here’s a practical list with why each item matters.
Personal protective equipment (PPE) comes first: cut-resistant gloves, safety glasses, and an N95 or equivalent dust mask protect you from sharp fins, debris, and coil cleaner mist. A non-contact voltage tester helps confirm power is off at the disconnect or breaker before you touch panels. Pair it with a good flashlight or headlamp for visibility in dark closets and attics. For airflow, stock quality pleated filters sized for your return grille; mark change dates on the frame. A soft coil brush (or paintbrush) and a fin comb let you remove lint and straighten bent fins without crushing delicate aluminum. For deeper cleaning, a garden hose with a gentle spray nozzle and a non-acid foaming coil cleaner safe for aluminum and microchannel coils are homeowner standouts.
Drain issues are common, especially in humid climates. A wet/dry vacuum with a rubber adapter can pull clogs from the exterior condensate drain line. Keep distilled vinegar on hand to flush algae and add drain pan tablets as a preventive in the cooling season. A small condensate brush helps clear the trap if accessible. To seal duct leaks at exposed joints near the air handler, use UL 181-rated foil tape or water-based mastic (never household “duct tape,” which dries out). For measurement, grab a simple digital thermometer or IR thermometer and a hygrometer to check room temperature and humidity. Tracking supply vs. return air temperature helps confirm that your system is cooling properly. A small torpedo level helps ensure the outdoor condenser is stable; vibration and poor leveling can shorten compressor life. Finally, organize everything in a tote with labels and keep a phone nearby for photos—documenting before-and-after visuals speeds troubleshooting later and helps a pro if you need one.
Tools you should not use without training: refrigerant gauges, recovery machines, and electrical test gear beyond basic non-contact voltage testers or continuity checks. Handling refrigerant without certification is illegal in many countries, and opening a sealed system can cause damage or injury. Your goal as a DIYer is preventive maintenance and simple fixes—not invasive service work.
| Tool | Primary Use | How Often | Approx. Cost (USD) |
|---|---|---|---|
| Non-contact voltage tester | Confirm power is off before maintenance | Every time you open panels | 15–30 |
| Pleated air filters | Restore airflow, protect coils | Every 1–3 months | 8–25 each |
| Coil brush + fin comb | Clean fins; straighten bent fins | Spring and mid-season | 10–20 |
| Wet/dry vacuum | Clear condensate drain clogs | As needed | 50–120 |
| Foaming coil cleaner | Remove dirt from coils | Spring or when dirty | 8–15 |
| UL 181 foil tape or mastic | Seal small duct leaks | Annually | 8–25 |
Step-by-Step: How to Use Your Home HVAC Toolkit Safely and Effectively
Before any task, turn off power at the thermostat, then shut off the breaker or pull the outdoor disconnect. Verify with the non-contact voltage tester. Safety comes first to prevent mistakes and protect your equipment.
1) Replace or upgrade your air filter. Remove the old filter at the return grille or air handler. Check airflow arrows and install the new filter the correct way. If you have pets or live in a dusty area, consider a 1–3-month replacement cycle; otherwise, inspect monthly and replace when dirty. Avoid very high MERV filters unless your system is rated for them—they can restrict airflow if the blower isn’t sized for higher static pressure. That single action can deliver a quick 5–15% efficiency improvement and prevent coil icing.
2) Clean the outdoor condenser coil. Clear leaves and debris from around the unit, keeping at least 2 feet (60 cm) of space on all sides and 5 feet (150 cm) above. Gently remove surface dirt with a coil brush in the direction of the fins. Apply a non-acid foaming coil cleaner per label instructions. The coil should be rinsed gently with a garden hose from the inside out if you can safely remove the top shroud without straining fan wires; otherwise, rinse from the outside using low pressure. A pressure washer should never be used—it can flatten fins and force water into electrical components. Straighten bent fins with a fin comb. Re-level the pad with shims if the unit has tilted.
3) Clear the condensate drain. Locate the PVC drain near the indoor unit and the exterior drain outlet. If there’s an access cap at the trap, remove it and check for sludge. Use a wet/dry vacuum on the exterior outlet for 1–2 minutes to pull clogs. Pour 1 cup of distilled vinegar into the access port to slow algae growth; replace the cap. Add a drain pan tablet in the secondary pan if present. If your float switch trips often, this step usually fixes it.
4) Dust the indoor blower compartment and check registers. With power off, remove the blower door and vacuum dust around but not inside the motor bearings. If the evaporator coil is visibly dirty and accessible from a clean-out panel, lightly brush the face and use a no-rinse coil cleaner designed for evaporators. Do not poke deep into the fins, and avoid touching refrigeration lines. Replace the panel and ensure the door safety switch is engaged.
5) Seal small duct leaks you can see. At exposed joints near the air handler, press UL 181 foil tape over gaps or brush on water-based mastic. Focus on return-side leaks first; they suck in dusty attic or garage air and reduce efficiency. Avoid sealing flexible duct inner liners unless you’re confident; kinks and crushed sections may need a pro.
6) Verify cooling performance. After restoring power, set the thermostat to cool and wait 10–15 minutes. Measure return air temperature at the grille and a supply vent temperature. Many systems show a 16–22°F (9–12°C) temperature drop under normal humidity. If your delta is far outside this range, note the readings and call a professional for diagnostics.
7) Document and schedule. Take photos of cleaned coils, filter change dates, and any parts that look worn. Create a seasonal checklist: spring deep clean, mid-summer drain check, fall filter change and coil inspection. Consistency is what turns tools into savings.
When to Stop and Call a Pro: Red Flags, Warranty, and Legal Stuff
DIY maintenance is smart; refrigerant and high-voltage work are not. In the United States, handling refrigerant requires EPA Section 608 certification, and similar rules exist globally. Opening sealed systems, attaching gauges, or adding refrigerant without a license can void warranties and carry fines. Likewise, wiring changes beyond switching off power and removing access panels should be left to licensed technicians.
Call a professional if you notice these red flags: ice on the refrigerant lines or evaporator coil, a strong burnt-electrical smell, loud grinding or buzzing from the outdoor unit, repeated breaker trips, short cycling (frequent on/off), hissing from coils, oil stains on refrigerant lines, or a large temperature drop that suddenly disappears. Also call if your thermostat shows error codes or the system runs but rooms stay humid and clammy despite normal temperatures; this can indicate airflow or charge issues that require instruments and training.
Check your warranty terms before taking panels apart. Many manufacturers allow homeowner cleaning and filter changes but require annual or biannual professional service to keep coverage valid. A spring tune-up may include coil delta-T testing, blower amperage checks, static pressure measurements, and refrigerant diagnostics you can’t perform at home. The blend of DIY plus pro maintenance gives you the best outcome: fewer breakdowns and a system that operates close to rated efficiency over its full lifespan.
If you need reliable guidance, consult your unit’s manual and reputable sources. ENERGY STAR and the U.S. Department of Energy provide homeowner-friendly checklists. For safety around electricity, OSHA’s guidance explains lockout and verification basics. These resources help you stay within safe, legal limits while getting the most from your toolkit.
FAQs: DIY AC Maintenance Tools and Tips
Q: Can I use a pressure washer on my AC coils?
A: No. High pressure can bend fins, push water into electrical compartments, and permanently damage coils. Use a garden hose with gentle pressure and coil cleaner designed for HVAC.
Q: What MERV filter should I buy?
A: MERV 8–11 is a safe range for most residential systems. Higher MERV can restrict airflow if your blower isn’t sized for it. Check your manual or ask a tech before moving up.
Q: How often should I clear the condensate drain?
A: Inspect monthly during cooling season. Vacuum the exterior outlet and add vinegar if you see slow draining or algae. In humid regions, preventive monthly treatment helps avoid shutdowns.
Q: My outdoor unit is noisy after cleaning. What now?
A: Confirm the fan shroud is reinstalled correctly, clear debris, and ensure the unit is level. If noise persists or you hear grinding/buzzing, shut it off and call a pro to prevent damage.
Conclusion: Build Your Home HVAC Toolkit and Breathe Easier
By now, you’ve seen how a focused set of essential DIY AC maintenance tools can solve the biggest everyday problems: dirty filters, clogged drains, and inefficient coils. With simple gear—PPE, a non-contact voltage tester, filters, coil brush and cleaner, wet/dry vacuum, fin comb, UL 181 tape, and basic measuring tools—you can restore airflow, reduce energy use by up to 5–15% from filter changes alone, and prevent mid-summer breakdowns. The steps are straightforward: shut off power, clean the condenser, clear the drain, swap the filter, seal obvious leaks, and confirm performance. Equally important, you now know the red flags that signal it’s time to call a certified technician and protect your warranty.
Make this the season you take control of your comfort. Build your home HVAC toolkit this week, schedule a 30-minute maintenance block on your calendar, and save before the next heatwave hits. Start with the basics—filter change and condenser rinse—then add a drain vacuum and vinegar treatment next weekend. Track your supply and return temperatures and note any changes. If something seems off, you’ll have solid data to share with a pro, speeding repairs and reducing costs.
Your home should feel consistently cool, clean, and calm—even on record-setting days. With the right tools and habits, you’ll get there. Ready to begin? Pick one task from this guide and do it today; your future self (and your energy bill) will thank you. What’s the first tool you’re adding to your HVAC kit?
Sources:
ENERGY STAR: Heating and Cooling Guidance
U.S. Department of Energy: Maintaining Your Air Conditioner
U.S. EPA Section 608 Refrigerant Management Requirements