When an air conditioner quits on a scorching afternoon, a failed capacitor is often to blame—and it feels maddening. That tiny, inexpensive part stores and releases electrical energy so the compressor and fan motors can start and run. If it weakens or dies, you may hear humming or clicking, experience breaker trips, get warm air, or see the system refuse to start. In this guide, you will learn the real causes behind AC capacitor failure, the signs that reveal trouble early, and practical detection tips you can use right now to protect both comfort and budget.
The real problem: what an AC capacitor does and why failure hits hard
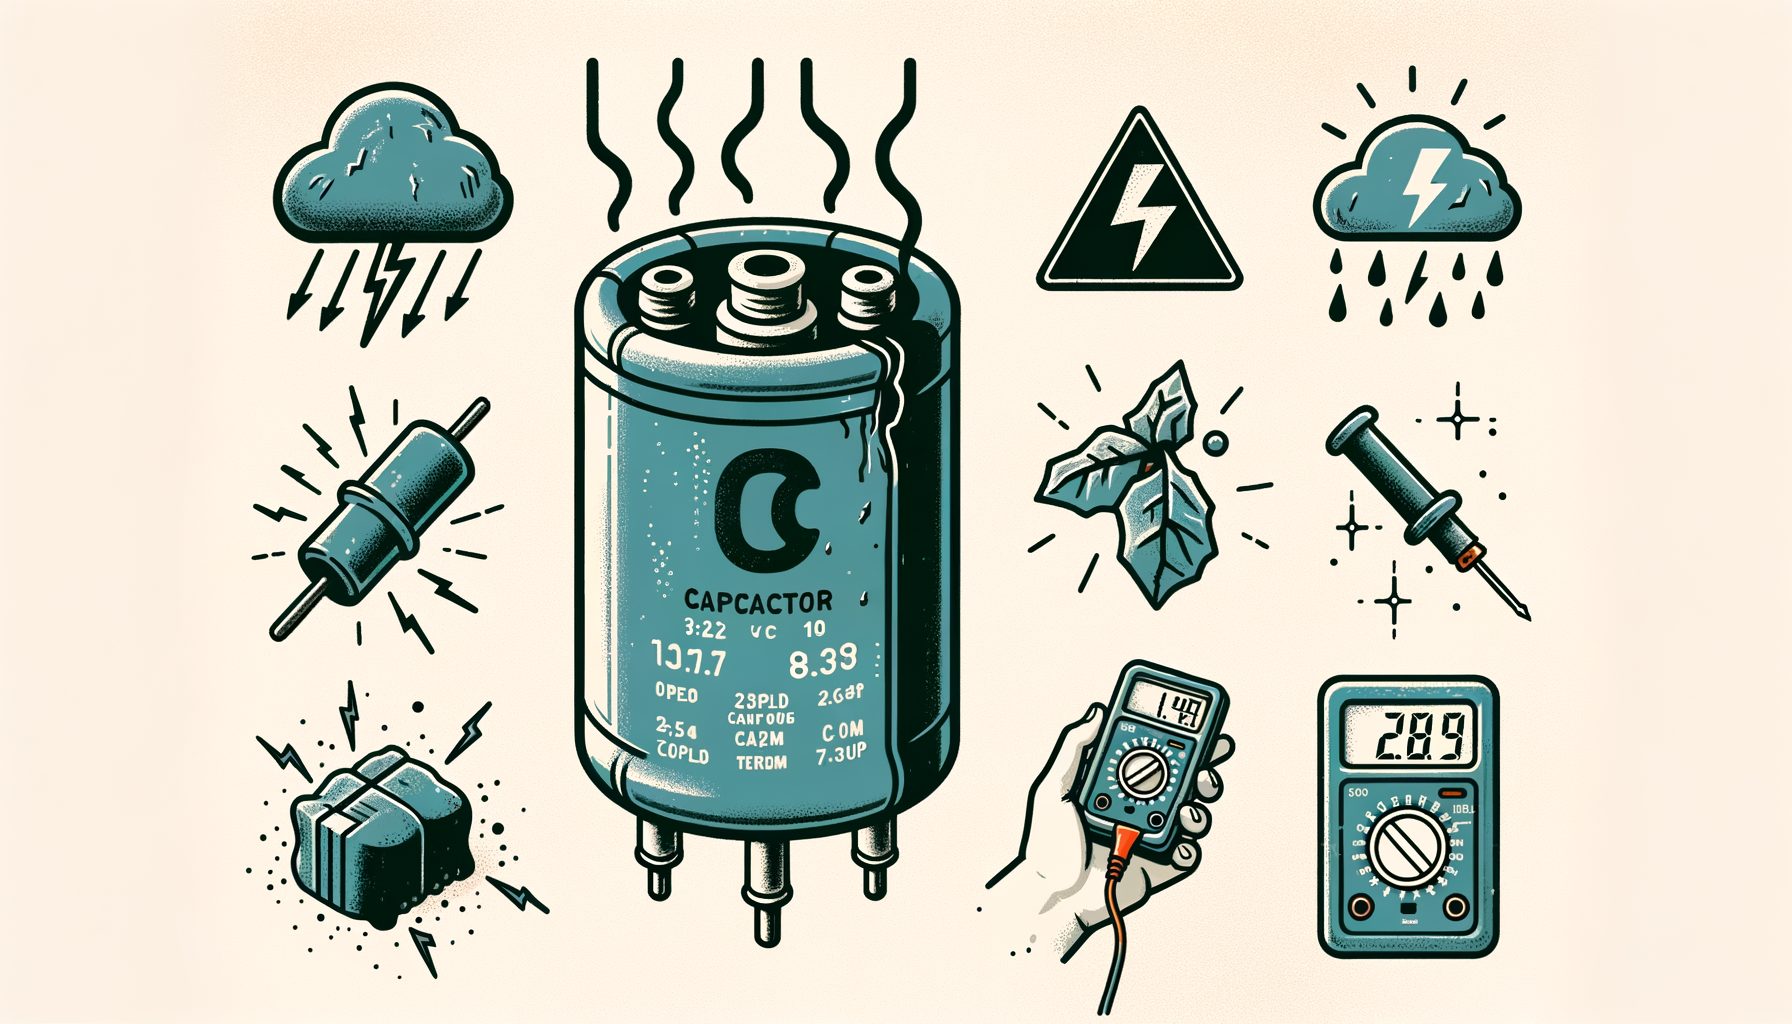
To see why capacitor trouble is so disruptive, first consider the job it performs. Most residential systems rely on two types: a start capacitor that delivers a short, high-energy burst to get the compressor moving, and a run capacitor that provides steady energy to keep the compressor and fan motors spinning efficiently. Many units combine these functions into a dual run capacitor with three terminals—C (common), FAN, and HERM (compressor). The microfarad (µF) rating indicates stored charge, while the voltage rating (often 370V or 440V) shows what it can safely withstand. Even small deviations from the intended microfarad value can push motors to run hot, draw excess current, or stall outright.
Here is how that plays out in the real world. With a weak start capacitor, the compressor struggles to overcome initial inertia; a hum, a click, or dimming lights may accompany every attempt to start. When a run capacitor drifts out of spec—even by roughly 6%—the compressor and fan lose efficiency, temperatures climb, and motor windings overheat. Heat accelerates insulation breakdown inside the motor, turning what could be a $20–$60 part swap into a four-figure compressor replacement. Then this: unhealthy capacitors often trigger nuisance breaker trips and higher utility bills because the unit must run longer to hit the same setpoint.
For many homeowners and renters, degradation sneaks up quietly until it doesn’t. Units may “sort of work,” masking the problem with weak airflow or lukewarm cooling. That is why learning early warning signs and adopting a few simple checks can prevent sudden breakdowns at the worst moments. What’s interesting too, pros test capacitors during routine maintenance because the inspection is cheap, fast, and can prevent cascading damage to far costlier components.
Root causes of AC capacitor failure you can actually control
Random failure almost never tells the story. Capacitors typically fail because heat, voltage stress, and time attack their internal dielectric and electrolyte. The upside: better installation choices, environment control, and maintenance can reduce several major stressors.
Heat tops the list of killers. Outdoor condensers bake in direct sun; attic air handlers bake even harder, sometimes above 60°C (140°F). As a rule of thumb, every 10°C rise above the rated ambient can roughly halve expected life. Dirty condenser coils, clogged filters, and failing condenser fan motors trap heat in the cabinet, compounding stress on the capacitor and nearby electronics. In recent field inspections, most bulged or leaking capacitors turned up next to dust-choked coils or inside cabinets running above 55°C during operation.
Voltage stress follows closely behind. Brownouts, utility swings, and heavy inrush current during compressor starts strain the dielectric. A 370V capacitor used in a system that regularly spikes higher loses its safety margin. Well, here it is: many technicians upgrade compatible 370V parts to 440V units of the same microfarad rating to add headroom without changing capacitance. Surges from lightning or poor grounding can also cause abrupt failures.
Mechanical and environmental factors shouldn’t be ignored. Vibration loosens terminals, which leads to arcing, hot spots, and accelerated wear. Moisture intrusion corrodes connections and can short internal layers. Even mounting mistakes—zip ties cutting into cans or capacitors rattling loose in the cabinet—translate vibration into early fatigue. Age and part quality matter as well: electrolytics dry out over time, and lower-cost parts with thinner foil and weaker electrolyte chemistry drift out of tolerance sooner. Systems that short-cycle due to oversized equipment or thermostat faults rack up extra start events, punishing start capacitors most of all.
The takeaway remains straightforward: control heat, control voltage, control vibration—and most failure risk gets controlled with it. Each knob can be turned through maintenance habits, small upgrades, and better installation practice.
Clear symptoms and smart detection tips (with a simple reference table)
Spotting capacitor issues early comes down to listening, looking, and measuring. The outward signs tend to repeat from brand to brand and climate to climate, yet they are easy to miss when you focus only on the thermostat.
Typical clues include a humming condenser that will not start, an outdoor fan that spins only if nudged with a stick, warm air indoors, frequent breaker trips, and on‑again, off‑again cooling where the system tries, fails, rests, and tries again. A swollen or domed top, oil stains around the can, melted plastic on terminals, or scorched wires are visible red flags that the capacitor has exceeded its safe life. A weakening run capacitor often shows up as poor airflow, longer run times, and rising energy bills before motors finally refuse to start.
Use the quick reference below while observing your system:
| Observable Symptom | Likely Capacitor Issue | Risk Level |
|---|---|---|
| Unit hums, compressor does not start | Start capacitor weak or failed | High (compressor overheating possible) |
| Outdoor fan needs a manual push to spin | Run capacitor (fan side) out of spec | Medium (fan motor damage if prolonged) |
| Frequent breaker trips on startup | Capacitor drift causing high inrush | High (wiring and breaker stress) |
| Bulged or leaking capacitor can | Internal dielectric breakdown | Critical (replace immediately) |
| Warmer supply air, longer cycles | Run capacitor weak, motors inefficient | Medium (higher bills, motor wear) |
Initial checks do not always require tools. Turn off power at the disconnect and breaker; look for bulging, oil leakage, or burnt terminals. If nothing looks suspicious, restore power and listen to the sequence: the outdoor fan should start promptly, the compressor should ramp up, and the indoor blower should follow. Any long lag, repeated clicking, or buzzing points toward a bad capacitor or a sticky relay. With a clamp meter and thermometer, you can compare current draw and supply air temperature drop; a healthy system typically records a 16–22°F (9–12°C) drop across the coil in moderate humidity. Poor temperature drop plus long run time can implicate a weak run capacitor among other causes.
For definitive answers, measure capacitance with a multimeter that supports µF testing. After safely discharging the capacitor, disconnect leads and measure across the proper terminals. Compare the reading with the label. Many HVAC capacitors list ±5% or ±6% tolerance. For instance, a 40 µF run capacitor with ±5% should read between 38.0 and 42.0 µF. Outside that window, replacement is recommended. For a step‑by‑step guide, see the DIY section below and toolmaker guidance from Fluke’s capacitance tutorial.
Safe, step-by-step DIY checks (and when to stop)
Work around capacitors and high-voltage equipment demands respect. If you feel unsure or your unit remains under warranty, call a licensed HVAC technician. If you continue, follow the steps below to limit risk and avoid damage.
Step 1: Kill power completely. Switch off the outdoor disconnect and the breaker feeding the condenser. Verify with a non-contact voltage tester that power is truly off. Lock out the breaker if someone else might turn it on. For general practices, review OSHA’s guidance on lockout/tagout at OSHA Lockout/Tagout.
Step 2: Access and document. Remove the condenser’s service panel. Take a clear photo of the capacitor and all connected wires. Label leads if needed. With dual capacitors, note the C, FAN, and HERM terminals—miswiring can destroy motors instantly.
Step 3: Discharge the capacitor. Even with power off, stored energy can remain. Use an insulated, resistor-equipped discharge tool or place a 20 kΩ–100 kΩ, 5W resistor across the terminals for several seconds. Avoid “shorting” with a screwdriver; that method is unsafe and can damage the part.
Step 4: Inspect physically. Look for domed tops, leaks, rust, swelling, or melted spade connectors. Any such sign justifies replacement without further testing. Confirm the mounting strap is snug and not deforming the can.
Step 5: Measure capacitance. Disconnect the wires, set your multimeter to µF, and measure: C-to-FAN for the fan circuit, C-to-HERM for the compressor circuit on a dual cap. Compare readings to the label and its tolerance. If the value lands outside tolerance—commonly more than ±5% to ±6%—replace with an exact microfarad match and an equal or higher voltage rating, ensuring the form factor fits.
Step 6: Reassemble and test. Reconnect wires exactly as your photo shows, secure the panel, restore power, and observe startup. You want smooth, immediate starts and steady operation. If the breaker trips, the compressor stalls, or a loud buzz persists, stop and call a professional. Those symptoms can indicate a seized compressor, a faulty contactor, or wiring issues beyond the capacitor.
When to stop immediately: burnt insulation odor, charred wiring, a swollen and too‑hot‑to‑touch capacitor, or rapid clicking from a compressor attempting repeated starts. Also stop if meter readings are inconsistent or terminal identification is unclear. Calling a pro at that point protects the compressor and can save thousands.
Prevent it before it breaks: maintenance, upgrades, and pro help
Preventing capacitor failure mostly involves reducing heat and electrical stress while keeping components clean and well-connected. The most effective actions are simple, affordable, and boost overall efficiency.
Keep it cool and clean. Replace or wash filters on schedule (usually every 1–3 months), and hose off outdoor condenser coils twice per cooling season to remove dust and pollen. Restricted airflow forces motors to work harder and hotter, accelerating capacitor aging. Maintain at least 24 inches of clear space around the condenser for ventilation. For official guidance that improves performance and longevity, see ENERGY STAR’s HVAC maintenance tips.
Control voltage stress. In areas prone to brownouts or storms, consider a whole‑home surge protector or a dedicated device for the condenser. Ensure replacements match the microfarad rating and, when allowed by the manufacturer, use a higher voltage rating (e.g., replace 370V with 440V at the same µF) for added headroom. Ask your technician whether a hard‑start kit is appropriate; it can reduce inrush current on older compressors and ease stress on start capacitors. Keep in mind, a hard‑start kit is not a cure‑all and should be matched to compressor specs and installed professionally.
Prevent vibration and moisture damage. Verify the condenser is level and the pad stable. Tighten loose panels and secure capacitors with proper metal straps, not zip ties that can cut or loosen. If the unit sits near sprinklers or coastal air, consider weather shields and corrosion‑resistant terminals. During routine service, replace any overheated, discolored, or loose spade connectors.
Adopt a proactive inspection rhythm. At spring startup, have a technician measure run and start capacitor values, compressor amp draw, and cabinet temperature. Replacing a drifting capacitor before peak summer can prevent emergency calls. Professional organizations such as ASHRAE and AHRI highlight preventive maintenance as vital to energy efficiency and equipment life—capacitor checks are part of that plan.
Know when to upgrade. If your system is 10–15 years old and has needed multiple capacitors, discuss bigger-picture issues with a pro: oversizing and short cycling, poor ventilation, or a failing fan motor may sit at the root. An energy audit, smarter thermostat strategies, and fixing duct restrictions can lower operating temperatures and extend component life. When you do replace capacitors, choose reputable brands that meet recognized standards (UL, IEC) for reliable tolerance and thermal performance.
Q&A: common questions on AC capacitor failure
Q: How long should an AC run capacitor last? A: Expect roughly 5–10 years in average conditions. High heat, dirt, voltage swings, and frequent short cycling can cut that in half. With good ventilation and quality parts, many systems go longer between replacements.
Q: Can I install a different microfarad rating “close enough” to get by? A: Avoid that. Motors are engineered for specific capacitance to set the correct phase shift and torque. Using a higher or lower µF value risks overheating, poor efficiency, and warranty issues. Always match the printed microfarad rating and use an equal or higher voltage rating if approved.
Q: Is it safe to run my AC if the fan starts only with a push? A: No. That behavior screams “failing fan run capacitor.” Continued operation overheats the fan motor and can harm the compressor by reducing heat rejection. Turn the system off and replace the capacitor or call a technician.
Q: Are hard‑start kits good for every system? A: They can help older compressors that struggle to start or systems on marginal utility voltage. They must be correctly sized, often paired with a potential relay, and installed per manufacturer guidance. A failing compressor will not be fixed by a hard‑start kit; it only masks symptoms.
Q: How can I test a capacitor without a meter? A: Only obvious problems can be screened: bulging, leaks, burnt terminals, and functional hints like humming with no start or a fan that spins only when pushed. Precise diagnosis requires a multimeter with µF capability. If you lack tools, schedule maintenance—pros can check capacitors in minutes.
Conclusion: protect your comfort by getting ahead of AC capacitor failure
Capacitors act as small guardians of big comfort. You now know what they do, why failure brings humming units, warm air, and breaker trips, and how heat, voltage stress, vibration, and age push them over the edge. You also have a checklist: watch for early symptoms, inspect safely, measure against the labeled tolerance, and replace with the exact microfarad rating and an equal or higher voltage when needed. Simple prevention steps—clean coils, clear airflow, stable voltage, secure mounting, and proactive checkups—help stop repeat failures.
Take action today. Step outside, assess the condenser’s surroundings, and schedule a pre‑summer maintenance visit if you have not already. Ask the tech to record capacitor values, compressor amps, and cabinet temperatures. If your area experiences voltage swings, add surge protection and discuss whether a correctly sized hard‑start kit can ease startup stress. DIYers should assemble a safe toolkit: an insulated screwdriver set, a resistor for safe discharge, a quality multimeter with µF measurement, and labeled photos for exact rewiring. Small habits—changing filters on time and rinsing coils—go a long way in preventing midnight breakdowns.
Your AC does not have to fail on the hottest day. By addressing capacitor health early, you save energy, extend motor life, and protect the most expensive component—the compressor. Start with one simple step this week to lower heat and stress on your AC, then build a habit of preventive care. The payoff is steady comfort, lower bills, and peace of mind when the weather turns extreme.
Article sources
ENERGY STAR: HVAC Maintenance Tips
Fluke: How to Measure Capacitance
OSHA: Control of Hazardous Energy (Lockout/Tagout)
ASHRAE: Heating, Ventilation, Air Conditioning Resources
AHRI: Air-Conditioning, Heating, and Refrigeration Institute