If your home or office has a noisy AC, the constant hum, rattle, or buzz can drain your focus and sleep. Good news: with smart soundproofing tips to reduce unit noise, you can quiet the clatter without sacrificing cooling performance. In this guide, you’ll learn why ACs get loud, how to diagnose the real cause, and which fixes work—ranging from quick DIY tweaks to pro-grade sound control. Whether you run a window unit, portable AC, mini-split, or a central system with an outdoor condenser, you’ll find practical ideas you can apply today.
Here’s the hook: many people spend money on the wrong fix. Noise often combines vibration, airflow turbulence, and mechanical wear. Match the solution to the cause, and you can cut perceived noise by 30–60% while boosting comfort. Let’s start with the biggest problem: finding the actual source of the sound.
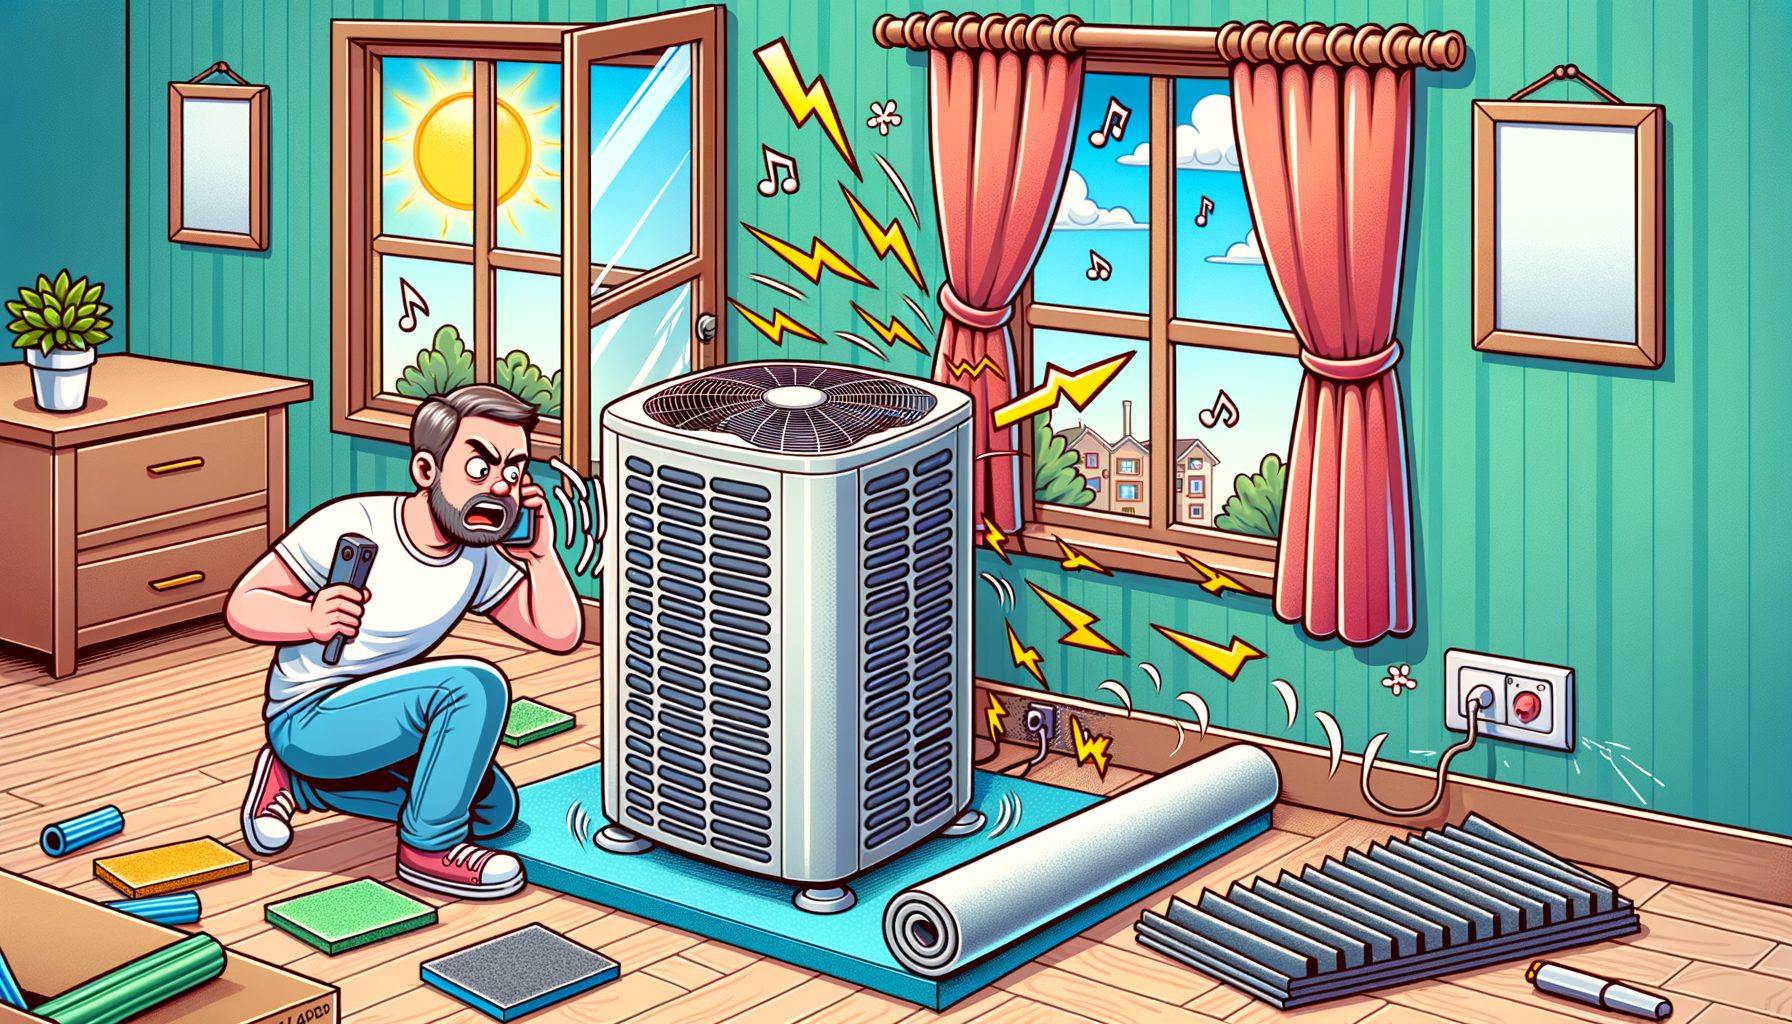
Why Your AC Is Loud: Find the Real Source Before You Spend
Noise is a symptom, not the disease. Before you buy panels or build an enclosure, map what you hear and where it comes from. Different sounds point to different causes. A low, steady hum usually comes from the compressor, fan motor, or transformer. A metallic rattle suggests a loose grille, panel, or screw. Whistling or whooshing points to air leaks around a window unit or a clogged filter that’s forcing air through tight gaps. Intermittent clanks can signal ice breaking off coils, a failing fan bearing, or a refrigerant line touching a wall.
Stand near the unit and listen in short bursts. Move slowly around the sides, top, and back. Use your phone’s decibel app to measure loudness at one meter and three meters. If the reading drops sharply a few steps away, the sound is directional (often airflow). If it carries through walls or floors, vibration is traveling into the structure. Such mapping saves money because it tells you whether to target the machine, the mount, or the room.
Next, consider age and type. Newer mini-splits can run as low as 19–25 dB indoors—library quiet—while older window or portable units commonly sit around 55–70 dB. Outdoor condensers typically measure 55–75 dB at one meter. Units get louder when filters are dirty, fins are bent, or they sit on uneven surfaces. Even a slightly tilted window unit can let the compressor vibrate the sill like a drum, magnifying noise.
Then this: check the path noise follows. Sound slips through gaps, resonates in hollow cavities, and bounces off hard surfaces. If your AC sits near a corner, the two hard walls can act like a megaphone. If the unit shares a wall with a bedroom, structural vibration may carry into the headboard or nightstand. The goal is to break those paths with sealing, decoupling, and absorption.
Quick, Low-Cost Fixes You Can Do Today
Start with simple wins. Clean the filter and intake screens. A clogged filter forces higher fan speeds and creates turbulence, which is a big noise source. Bent condenser fins should be straightened gently with a fin comb so air flows smoothly. Tighten any loose screws on side panels, grilles, and brackets; even one loose panel can cause a loud buzz at specific speeds.
Seal air leaks to stop whistling. For window units, fill gaps with closed-cell foam weatherstripping and foil HVAC tape, not cloth tape. Replace worn accordion side panels or add a removable foam board insert cut to size for a tight, airproof fit. Ensure the unit’s slight backward tilt is correct so condensate drains outdoors; improper tilt can cause water gurgle and fan slap.
Kill vibration at the source. Place rubber or neoprene isolation pads under portable units or the interior half of window units. If the unit sits on a rigid wood sill, add a thin layer of dense foam under a plywood plate and then place the unit on that plate to create a decoupled sandwich. For mini-splits, check that the indoor head is firmly latched and the line set isn’t touching the wall cavity; add a small piece of pipe insulation where it contacts framing to stop rattles.
Change how you run the machine. Many ACs have “Quiet,” “Sleep,” or “Low” modes that adjust fan ramps. Dropping fan speed from high to medium often cuts noise by 3–6 dB while changing perceived loudness noticeably. Run the AC earlier in the day to pre-cool, then maintain with lower airflow in the evening. What’s interesting too: if your thermostat allows, set a slightly higher temperature and activate dehumidify mode; drier air feels cooler at the same temperature and often uses a lower fan setting.
Measure before and after. Use a decibel app to log a 30-second average at the same distance. Seeing a drop from 62 dB to 56 dB proves the fix worked and helps you decide if you need heavier soundproofing. These steps are cheap, reversible, and often deliver the biggest bang for the buck.
Soundproofing That Actually Works: Indoors and Outdoors
When simple tweaks aren’t enough, it’s time to add targeted sound control. The three pillars are sealing, decoupling, and absorption. Sealing stops turbulent whistling and prevents sound leaks. Decoupling breaks the mechanical bridge that lets vibration move into walls and floors. Absorption soaks up reflected sound inside a room or enclosure so it doesn’t bounce back at you.
For window and through-the-wall units, build a snug, removable frame around the unit’s perimeter using rigid foam board wrapped in vinyl or a washable covering. The frame should press-fit without compressing the AC casing and should not block vents. Line the room-facing surface around the unit with 1-inch acoustic foam or 0.5-inch mass-loaded vinyl (MLV) behind a fabric layer; doing so prevents hard wall reflections. Replace flimsy factory side panels with thicker, closed-cell foam inserts and seal edges with foil HVAC tape to stop leaks.
If vibration is the problem, upgrade isolation. Place dense rubber isolation pads under contact points. For heavy window units, add a metal or stout wood support bracket outside and include neoprene between bracket and wall to decouple. For mini-splits, install anti-vibration mounts on the indoor head and ensure the line set stand-offs include rubber grommets. For portable ACs, use a foam-lined platform and flexible duct elbows to reduce duct-transmitted vibration and airflow roar.
Outdoor condensers benefit from a different approach. Keep at least 24–36 inches of open space around the unit for airflow. If the condenser sits on a concrete pad that touches the foundation, vibration isolation feet or a composite pad should be added. To cut line-of-sight noise, place a louvered screen or fence at least 12–18 inches away on all sides, using slats with 25–40% open area for ventilation. Line the inside of the screen with weatherproof acoustic panels or exterior-grade MLV covered by UV-stable fabric, leaving the top open. Never fully box in a condenser; overheating risks a costly failure.
The materials you choose matter. Mass stops low-frequency hum; porous foam absorbs mid/high frequencies. Often, a layered approach works best: a thin MLV sheet for mass plus acoustic foam for absorption, mounted without rigidly coupling to the unit. For ducts in central systems, add duct liner or replace a short section with flexible, insulated duct to reduce fan whine. Be cautious: don’t add insulation to any surface the manufacturer says must be open or vented.
Well, here it is: typical materials and what to expect. Actual results vary with installation quality and the exact noise source.
| Material/Upgrade | Primary Effect | Typical dB Reduction | Typical Cost (USD) | Notes |
|---|---|---|---|---|
| Closed-cell foam weatherstripping | Sealing air leaks | 2–5 dB | 10–25 | Great for window gaps and frames |
| Neoprene/rubber isolation pads | Vibration decoupling | 3–8 dB | 15–50 | Use under indoor and outdoor units |
| Mass-loaded vinyl (1–2 lb/ft²) | Low-frequency blocking | 4–10 dB | 40–120 | Best when combined with absorption |
| Acoustic foam (1–2 inches) | Mid/high absorption | 3–7 dB | 25–80 | Do not block vents or airflow |
| Louvered screen with acoustic lining | Outdoor noise redirection | 5–12 dB | 80–300 | Maintain 12–18 in. clearance |
| Quiet/sleep mode usage | Lower fan speed | 3–6 dB | 0 | Immediate and reversible |
Renting or need temporary solutions? Focus on reversible add-ons: removable foam frames, isolation pads, and a free-standing outdoor screen. These avoid drilling into walls while still delivering meaningful noise cuts.
Safety, Maintenance, and When to Call a Pro
Soundproofing should never compromise safety or performance. The most common mistake is blocking airflow or covering heat-releasing surfaces, which forces the system to run hotter and louder. Always keep manufacturer clearances, vents, and coils unobstructed. When building any outdoor barrier, leave at least one open side or a vented top and follow local codes. Check your user manual or the manufacturer’s support page to confirm allowed accessories and clearances.
Routine maintenance prevents noise from creeping back. Filters should be cleaned or replaced monthly during heavy use. Outdoor coils can be rinsed gently with a hose each season to remove dust and cottonwood fluff that makes fans scream. Keep vegetation 2–3 feet away from condensers. Isolation pads deserve a yearly inspection; rubber hardens and loses performance in sun and heat. Tighten panels and brackets at the start and end of summer, since metal expands and contracts.
Call a professional if you hear grinding, electrical buzzing, or see the lights dim sharply when the compressor starts. These can indicate motor bearing wear, capacitor issues, or voltage drops. Ice on coils, warm air with high noise, or persistent clicking also deserve a technician’s eyes. A pro can add a soft-start kit to reduce compressor kick noise, replace failing fan motors with quieter ECM models, or relocate line sets with proper isolation stand-offs. For units older than 10–12 years, compare the cost of upgrades against replacing with a quieter, inverter-driven model. Modern inverter mini-splits and variable-speed central systems often cut noise and energy use dramatically.
Need technical guidance on best practices? For energy-efficient cooling choices and operation tips, see the U.S. Department of Energy’s guide on room air conditioners at energy.gov. For indoor comfort standards and HVAC guidelines, visit ASHRAE. For broader context on environmental noise and health, the World Health Organization provides insights at who.int.
Conclusion: Turn Down the Volume and Turn Up Your Comfort
You started with a noisy AC. Now you understand the root causes—turbulent airflow, vibration, and mechanical wear—and how to choose the right soundproofing tips to reduce unit noise. You learned to diagnose by listening for sound signatures, measuring with a decibel app, and tracing how noise travels through gaps, walls, and floors. Then you tackled quick wins: cleaning filters, sealing leaks, tightening panels, and adding isolation pads. For deeper cuts, you layered sealing, decoupling, and absorption with smart materials like mass-loaded vinyl, acoustic foam, and outdoor screens, always leaving safe airflow clearance. Finally, you saw how routine maintenance and pro help can keep noise low for the long run.
The next step is simple and specific: pick one action today. Clean the filter and log your current decibels. Add isolation pads or seal the window gaps this week. If the condenser rattles, set a reminder to install a louvered screen and vibration feet this weekend. Small moves stack up, and a 3–6 dB drop often feels like a big quality-of-life upgrade.
Renting? Focus on reversible options. Own your place? Consider a long-term plan—maintenance, materials, and possibly an inverter upgrade. Share your before-and-after readings with your household or neighbors; it encourages consistency and helps others choose proven fixes. When you’re ready for pro support, ask about quiet fan motors, soft-start kits, and proper line-set isolation.
Quiet is not a luxury; it is part of healthy living and productive work. You can reclaim your space from hums and rattles with a methodical approach and a few well-chosen materials. What will you try first today—sealing, isolation, or a smarter operating mode? Start now, and enjoy the cool without the clamor.
FAQs
Q: How quiet should an AC be? A: Indoors, modern mini-split heads can run at 19–30 dB on low, while many window units are 50–60 dB at one meter. Outdoors, condensers commonly measure 55–75 dB at one meter. If your readings are far above these, start with cleaning, sealing, and isolation pads, then consider sound barriers or a pro checkup.
Q: Will an AC sound blanket help? A: Specialized compressor blankets can reduce compressor hum by several decibels on some models, but they must be approved by the manufacturer to avoid overheating or warranty issues. If approved, combine a blanket with isolation feet and a louvered screen for best results.
Q: Can I build a full box around my outdoor unit? A: No. A closed box restricts airflow, causing overheating, higher energy use, and potential damage. Use a ventilated, louvered screen with 25–40% open area and keep the top open. Maintain 12–18 inches of clearance on all sides, or follow the manufacturer’s larger requirement.
Q: What if I live in an apartment and can’t drill? A: Choose reversible fixes: removable foam frames for window units, rubber isolation pads, fabric-wrapped MLV panels that lean against walls (not covering vents), and portable acoustic screens. These changes can reduce noise significantly without permanent alterations.
Q: Is replacing my AC the only real solution? A: Not usually. Many systems get much quieter with maintenance, sealing, and isolation. But if your unit is old, poorly sized, or mechanically failing, upgrading to an inverter-driven model can deliver a big noise and energy drop. Check ENERGY STAR ratings at energystar.gov to compare options.
Sources: U.S. Department of Energy, Room Air Conditioners: energy.gov; ASHRAE Standards and Guidelines: ashrae.org; World Health Organization, Environmental Noise: who.int; U.S. EPA, Noise Pollution and Abatement: epa.gov.