Musty smell when your AC kicks on? Often, that’s a sign of mold in the air conditioner. Spores can be pushed through your home, energy gets wasted, and allergies may flare. The upside: with a few smart habits and upgrades, you can stop mold before it starts. In this guide, you’ll learn why mold grows in AC systems, the daily and seasonal steps that prevent it, and when to bring in pros—so you can breathe clean, dry, comfortable air all year.
Why Mold Forms in Air Conditioners—and Why It Spreads Fast
Mold needs three things to grow: moisture, food, and the right temperature. An air conditioner unintentionally supplies all three. When warm, humid air hits the cold evaporator coil, water condenses. That liquid is meant to drain to a pan and out through a line, yet any clog or low airflow can leave persistent moisture on the coil and in the pan. Dust and lint that slip past the filter become “food,” and the unit’s shaded interior keeps temperatures comfortable for mold. Once growth starts, the blower can carry microscopic spores through ducts and rooms.
Humidity is the biggest driver. Indoor relative humidity (RH) above 60% dramatically raises mold risk, especially on surfaces that stay damp. Public-health guidance emphasizes drying wet materials within 24–48 hours to stop mold from taking hold—an important benchmark after leaks or sudden humidity spikes. In many climates, just a few hot, sticky days can tip a system into trouble if the filter is dirty or the drain is partially blocked.
System design and usage matter, too. Oversized AC units cool air quickly but don’t run long enough to dehumidify, a problem called short-cycling. In humid regions, that leaves rooms cool but clammy and the coil wetter for longer. Conversely, weak airflow from clogged filters, closed vents, or collapsed ductwork keeps the coil colder and wetter than it should be, extending the time water sits on surfaces. Even window and portable ACs follow the same basics: a cold coil and a drain path that must stay clear.
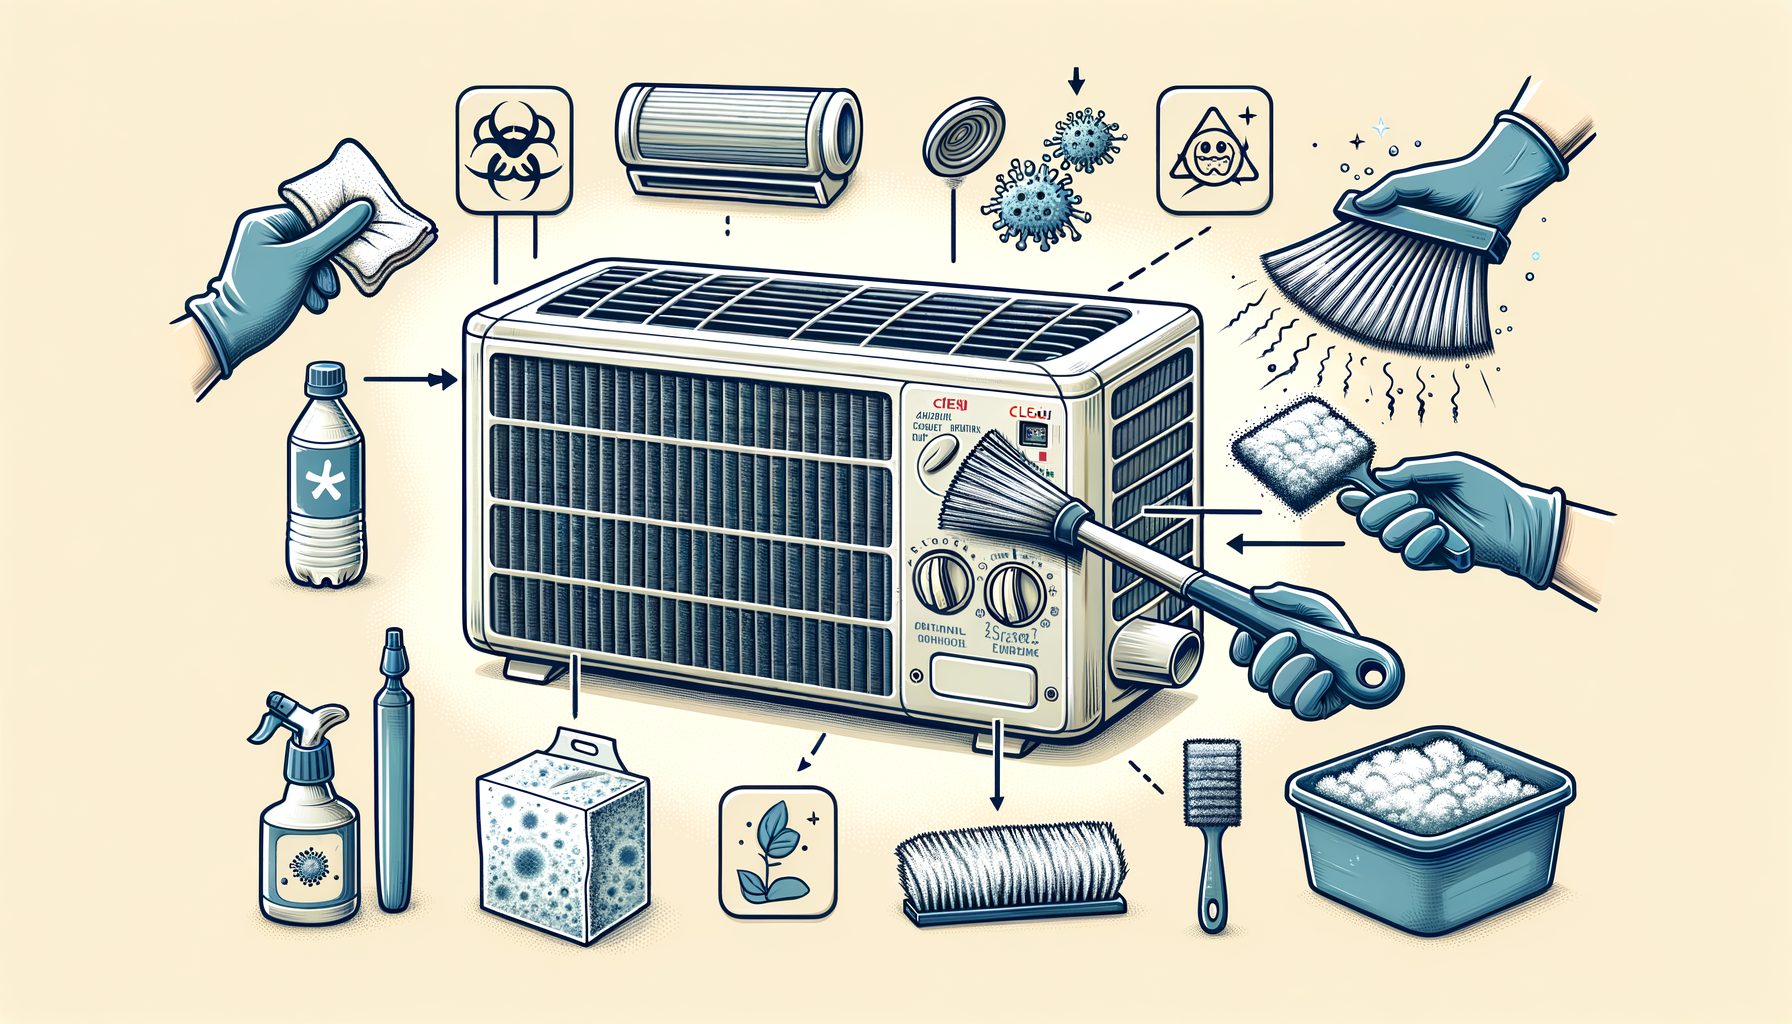
One more factor: cleaning methods can help or harm. Harsh chemicals that corrode metals or leave residue may damage coils, while “quick fixes” like fragrances or ozone generators can be unsafe or ineffective. The safer approach is to manage humidity, maintain airflow, and keep the coil and condensate path clean with appropriate tools and cleaners.
Daily and Weekly Habits That Prevent AC Mold Before It Starts
Small routines make the biggest difference. Start with filtration. Use a quality pleated filter (MERV 8–13, depending on your system’s capabilities) and change it regularly. In a typical home, that means every 60–90 days; with pets, smoke, construction dust, or high pollen, check monthly. A clean filter blocks dust that feeds mold and keeps airflow strong, reducing moisture on the coil.
Now, control humidity. Aim for 40–50% RH indoors and avoid staying above 60%. Many smart thermostats and standalone hygrometers display RH. If your climate is humid, run kitchen and bathroom exhaust fans for 20–30 minutes after cooking and showers. In basements or laundry rooms, consider a dehumidifier; place it near moisture sources and drain it continuously if possible. During shoulder seasons, avoid running the AC fan in “On” mode for long periods in humid weather—it can re-evaporate moisture from the coil back into the air; “Auto” is usually better for dehumidification.
Inspect the condensate drain monthly during the cooling season. If you have an access cap, pour about 1 cup (240 ml) of white vinegar down the drain to discourage algae and biofilm. Make sure the condensate pan is not holding water. A quick flashlight check can catch issues before they become musty odors or ceiling leaks. For window ACs, ensure the unit is slightly tilted outward so condensate exits properly and clean the filter as often as weekly during peak season.
Keep supply and return vents open and unblocked. Closing too many registers can drop airflow, making the coil too cold and more prone to condensation and icing. Don’t push furniture against returns, and vacuum vent grills to remove lint. In closets or rooms with AC air handlers, leave enough clearance around the unit to promote airflow and simplify maintenance.
Trust your senses, too. If you notice a persistent musty smell when the unit starts, unusual water noises, or higher-than-normal humidity readings, treat it as an early warning. Addressing these small signs promptly keeps maintenance simple and inexpensive—and it stops mold before it spreads.
Deep Cleaning and Maintenance: Coils, Pans, Lines, and Ducts
Even with good habits, periodic deep cleaning is essential. Always shut off power to the system before opening panels. For central systems, remove the access panel to the evaporator coil. If the coil has visible dust buildup or slime, use a non-acidic, manufacturer-approved coil cleaner and a soft brush. Rinse as directed (some formulas are no-rinse) and avoid bending the delicate fins. Keeping the coil clean improves both hygiene and efficiency.
Check the condensate pan for standing water, slime, or rust. Clean the pan with mild detergent and warm water; rinse thoroughly. If algae frequently returns, use an HVAC-safe pan treatment, and confirm the float switch (if present) is working, as it can prevent overflows. Inspect the condensate line for kinks or clogs. If water moves slowly, a wet/dry vacuum on the outdoor drain line can pull blockages free; a brief suction (30–60 seconds) is often enough. Do not mix cleaning chemicals (for example, never mix bleach and vinegar) and avoid harsh biocides unless a professional directs their use.
What about ducts? Routine duct cleaning is not automatically required. However, if there is visible mold growth inside hard-surface ducts or on components, or if ducts are contaminated after a water event, targeted cleaning by a qualified contractor following recognized standards is appropriate. Ask providers about their methods, containment practices, and whether they follow standards from reputable bodies. In all cases, the moisture source should be fixed first; cleaning without moisture control rarely solves the problem.
Consider professional maintenance annually. A licensed HVAC technician can measure refrigerant levels, check static pressure and airflow, verify temperature drop across the coil, and catch problems like short cycling, undersized returns, or weak blower performance. If your home struggles with humidity, ask about options: adding return air pathways, sealing duct leaks, increasing filter size for lower pressure drop, or installing dedicated dehumidification. Ultraviolet (UV-C) lamps can help keep coil surfaces cleaner by suppressing biofilm, but they are a supplement—not a replacement—for filtration and moisture control, and bulbs need periodic replacement to stay effective.
Safety and warranties matter, too. Opening sealed components or using unapproved chemicals can void warranties. If you’re unsure, photograph what you see and consult the equipment manual or a pro. The best maintenance combines safe DIY steps and periodic expert checks to keep both mold and energy waste in check.
Master Moisture Control: Ventilation, Humidity Targets, and Filtration That Works
Mold prevention is really moisture management. Start with clear targets: keep indoor RH around 40–50%, and avoid sustained levels above 60%. In humid climates, dehumidification can be as important as cooling. If your AC short-cycles, consider staged or variable-speed equipment or adjust settings to encourage longer, gentler runs that pull more moisture from the air. In dry or mixed climates, avoid overcooling; set temperatures that balance comfort and dehumidification—typically 23–25°C (73–77°F) for many households in summer, adjusting to your comfort and local conditions.
Ventilation should remove moisture at its source. Use exhaust fans during and after showers and cooking. If you have a whole-house ventilation system, ensure it’s balanced; unbalanced systems can pull humid outdoor air into walls and ducts. In very humid regions, energy recovery ventilators (ERVs) rather than simple exhaust can limit moisture intake while still delivering fresh air. In basements, address bulk moisture first: fix leaks, add drainage, and seal foundation cracks before relying on dehumidifiers.
Filtration complements moisture control by reducing the dust that feeds mold. A MERV 11–13 filter (when your system can handle it without excessive pressure drop) captures finer particles and many spores more effectively than low-grade filters. Check your blower’s specifications; sometimes the right solution is a larger filter cabinet with a deeper (e.g., 4–5 inch) media filter to achieve high filtration and low resistance. Pair filtration with regular cleaning of return grilles and a no-shoes policy indoors to cut tracked-in dust.
Use the quick-reference table below to spot risks and act early:
| Condition | Mold Risk | What To Do Now |
|---|---|---|
| Indoor RH < 40% | Low | Maintain; avoid over-drying which can cause discomfort and static. |
| Indoor RH 40–50% | Optimal | Ideal for comfort and mold prevention; keep fans on Auto in humid weather. |
| Indoor RH 50–60% | Watch | Increase dehumidification; run exhaust fans; check coil/drain and filter. |
| Indoor RH > 60% | High | Urgent moisture control; inspect for clogs; consider dedicated dehumidifier. |
| AC short-cycles (runs < 10 min) | High | Evaluate sizing/controls; aim for longer cycles for better dehumidification. |
| Standing water in condensate pan | High | Clear blockage immediately; clean pan; add float switch if absent. |
| Filter MERV ≤ 5, visibly dirty | Higher | Upgrade to MERV 8–13 per system limits; replace now; check monthly. |
For guidance and best practices, see resources from public agencies and professional bodies. Learn about mold basics and moisture from the U.S. Environmental Protection Agency at epa.gov/mold, filtration and ventilation from ASHRAE at ashrae.org, and maintenance tips from ENERGY STAR at energystar.gov. Local building codes and climate specifics can influence the best setup, so adjust strategies to your region.
Quick Q&A: Common Questions About Mold in Air Conditioners
Q: How can I tell if there’s mold in my AC? A: Clues include a persistent musty odor when the system starts, visible discoloration or slime on the coil or drain pan, and humidity that won’t drop despite normal cooling. Allergy-like symptoms that improve when you leave the building can also be a sign. Confirm by inspecting the coil area and pan with a flashlight (power off). If you see extensive growth or can’t access the area safely, call a qualified HVAC pro.
Q: Is bleach safe for cleaning AC parts? A: Bleach can corrode metals and damage finishes, and it is not recommended for coils or many HVAC components. Instead, use manufacturer-approved coil cleaners and mild detergents. For drains, plain white vinegar in the line can help discourage algae. Avoid ozone-generating “purifiers,” which agencies warn against using in occupied spaces.
Q: Do UV lights eliminate mold? A: UV-C lamps installed to irradiate the coil can reduce biofilm on that surface, especially in systems that run frequently. They work best as part of a comprehensive plan with good filtration and moisture control. Bulbs must be replaced on schedule, and proper shielding is needed to protect plastics and wiring. UV does not replace cleaning or humidity management.
Q: Should I run the fan in “On” or “Auto”? A: In humid weather, “Auto” typically controls moisture better because the fan stops when the compressor stops, avoiding re-evaporation of water on the coil. In dry climates, “On” can help mix air for even temperatures. Watch your indoor RH; if it rises with the fan on, switch to “Auto.”
Q: Do I need duct cleaning to solve mold? A: Only if there’s confirmed contamination in ducts or after water damage. Focus first on the source: fix humidity, clean the coil and pan, and improve filtration. If ducts need cleaning, hire a firm that follows recognized standards and provides before-and-after documentation.
Conclusion: Make Mold Prevention Automatic—and Breathe Easier
Here’s the bottom line: mold thrives when moisture lingers, dust feeds it, and airflow is weak. By keeping indoor humidity around 40–50%, maintaining strong filtration and airflow, and cleaning the coil, pan, and drain regularly, you can stop mold in your air conditioner before it starts. These steps also lower energy use, cut odors, and improve comfort.
Start today with three fast wins: check and replace your filter if it’s dirty, pour a cup of white vinegar into the condensate drain to discourage clogs, and verify your fan is set to “Auto” in humid weather. Over the next week, inspect the coil and pan (power off), vacuum return grilles, and confirm bathroom and kitchen exhaust fans are venting effectively. If humidity still runs high, add a dehumidifier or talk to a pro about system settings, duct sealing, or filtration upgrades that fit your equipment.
If you suspect deeper issues—short cycling, standing water in the pan, or recurring musty odors—schedule a professional inspection. A qualified technician can measure airflow and humidity performance, clean the coil safely, and tailor solutions to your home and climate. Use reputable guidelines from organizations like EPA, CDC, ASHRAE, and ENERGY STAR to check recommendations and products.
Clean, dry air isn’t a luxury—it’s the foundation of a healthy, comfortable home. Take one small step now, build a simple routine, and your AC will reward you with quieter runs, better comfort, and fewer surprises when the heat hits. Ready to breathe easier? Open your filter cabinet, set your humidity target, and make mold prevention part of your everyday rhythm. You’ve got this—what’s the first step you’ll tackle today?
Sources:
U.S. Environmental Protection Agency (EPA) — Mold and Moisture
U.S. Centers for Disease Control and Prevention (CDC) — Mold
ASHRAE — Filtration and Disinfection FAQ
ENERGY STAR — HVAC Maintenance Tips